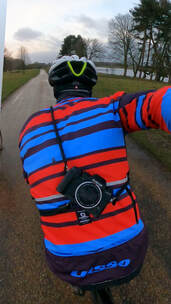
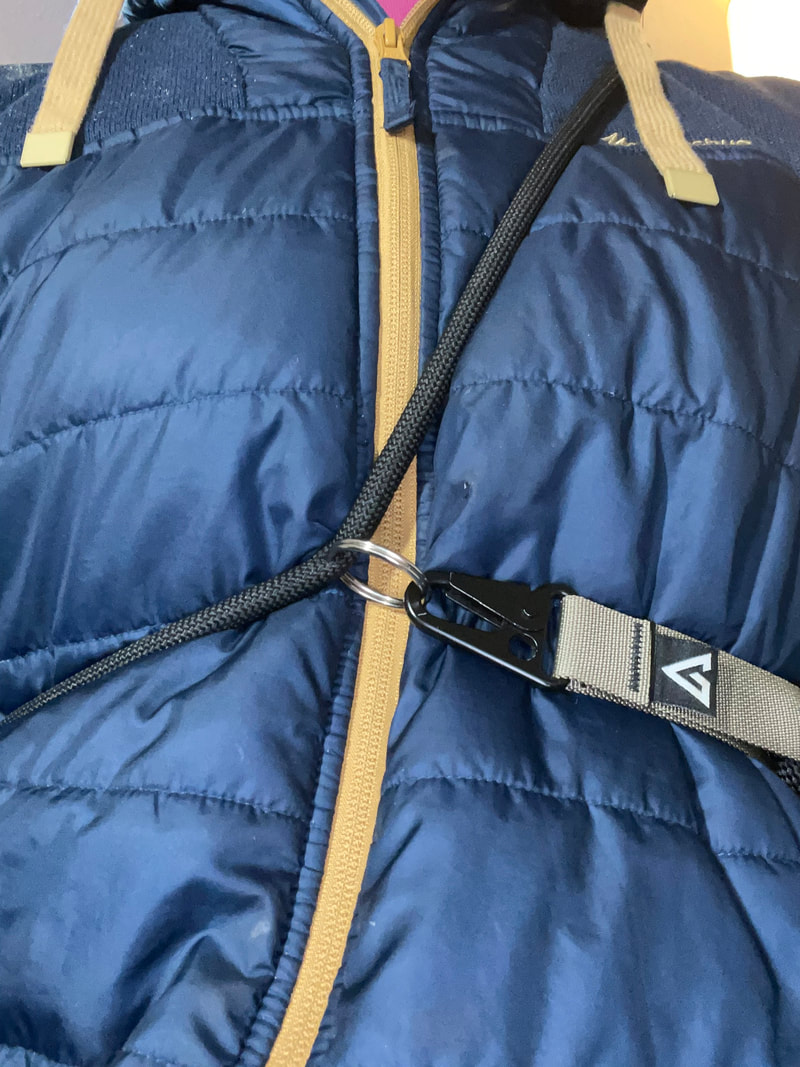
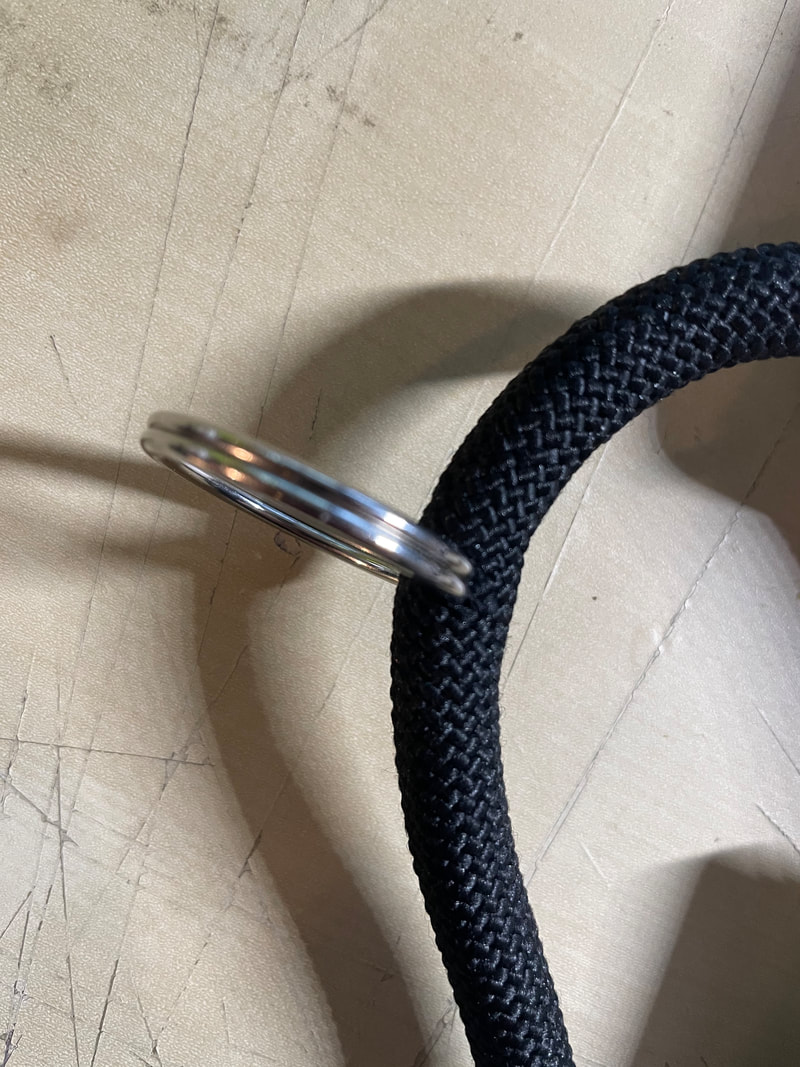
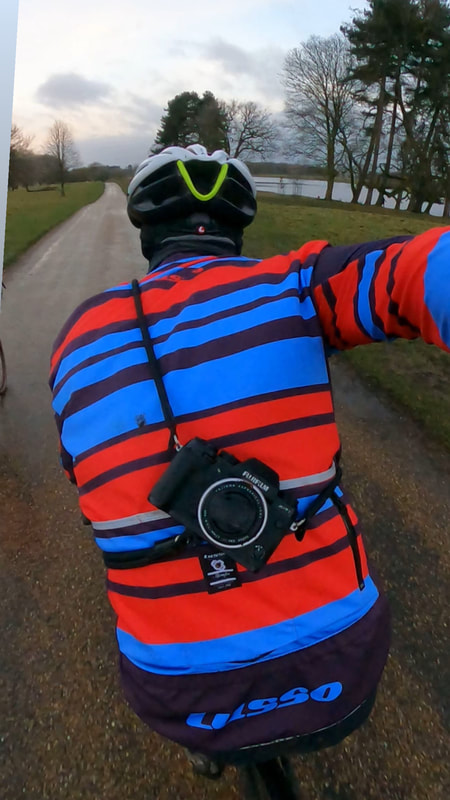
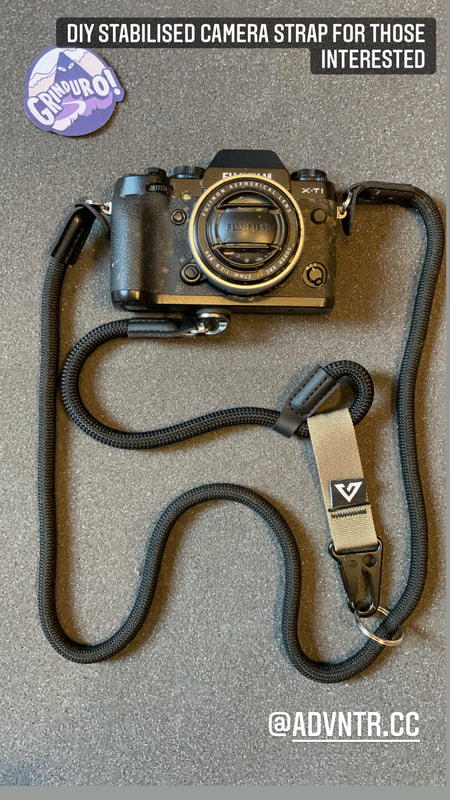
 This should be a short and sweet one, switch out the bits you want based on budget, style choice etc. I'll research a few options and signpost or link to shops, or what to google. First up what are you making. If you cycle with a camera using a normal strap you'll find that it routes around your body, typically when you least expect it or what it to happen. This can be both annoying and potentially depending on the length of your camera strap cause your camera to whack into your handlebars. Basically all we're doing here is adding a 2nd strap between the base of the camera and the strap itself, so it stays pretty solid on your back.  It's made of 4/5 parts the parts are listed and costed at the end of the post. 1 - The main strap 100cm - this will typically connect to the two sides of the camera and go over your head and under one arm when you're cycling. Here I have used a camera rope strap that isn't adjustable, mainly for comfort. You will need to poke a small hole through it to attached the key ring loop, but there is no reason you couldn't use your existing camera strap. 2 - 1/4 inch screw connecting adapter for camera. This is the little D ring that will screw into the base of the camera, where you might usually screw in a tripod mount. Again if you have a tripod mount or Gobi you might find that the screw base is actually big enough to secure the stabilising strap to the camera, but i picked mine up shipped for £1.26 and it's a bit neater 3 - Stabilising strap - This connects the bottom of the camera to the centre of the main camera strap. I've chosen to go for a wrist strap as they're a little smaller, but there is no reason you couldn't buy two rope straps and have a bit more adjustability. 4 - Key ring loop - this is the little silver loop that, that attaches your key to your keying 5 - Quick release key ring - or a Carabiner basically something to connected the stabiliser strap to the main strap 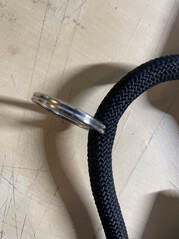 Assembly - this is really simple and there is only one place where it could go wrong and need a bit of brute force. 1 - Attach the strap to the camera 2 - Screw in the 1/4 screw into the bottom of the camera 3 - Attach stabilising strap to the bottom of the camera 4 - Clip the key ring to the wrist loop 5 - Put the camera strap on and find a comfortable place on your body, reach behind you and pull the stabilising strap up so it forms a cross over the other strap . 6 - Wiggle the two straps that shouldn't yet be connected to find a spot where the camera feels comfortable, you want some slack so when the camera is unclipped you can move it to the front of your body, but it need to not move around too much. you can take up slack in the wrist strap by making the wrist loop larger, but bear in mind you might need to put a stitch or two through this to make it permanent. 7 - Now the trickyish part - the key to this working is that you have a connection point on your chest that doesn't move around so taking note where the most comfortable place for the key ring to connect to the chest strap, carefully force the keyring loop through the rope. Effectively what you have then is a fixed point on your chest that can then be used to connect the stabiliser too one handed and carry on riding if you need to. The Downside of this design is that it isn't adjustable without come tweaking, but you could tie knows to shorten it pretty easily, but lengthening is probably a bit trickier, in fact if you're over 6ft or are pretty muscular you might want to consider not using a wrist strap as a stabiliser or used longer keyring to connect it. Parts list
0 Comments
Your comment will be posted after it is approved.
Leave a Reply. |
Mike GaskellI started commuting around May 2017, mainly to save the £45 a week train fare and get ready for the Dunwich Dynamo. Archives
August 2022
CategoriesCategories |
 RSS Feed
